Settings Page
The Settings page is where you configure the global parameters for your Dingent project. This is the first place you should visit when setting up a new project.
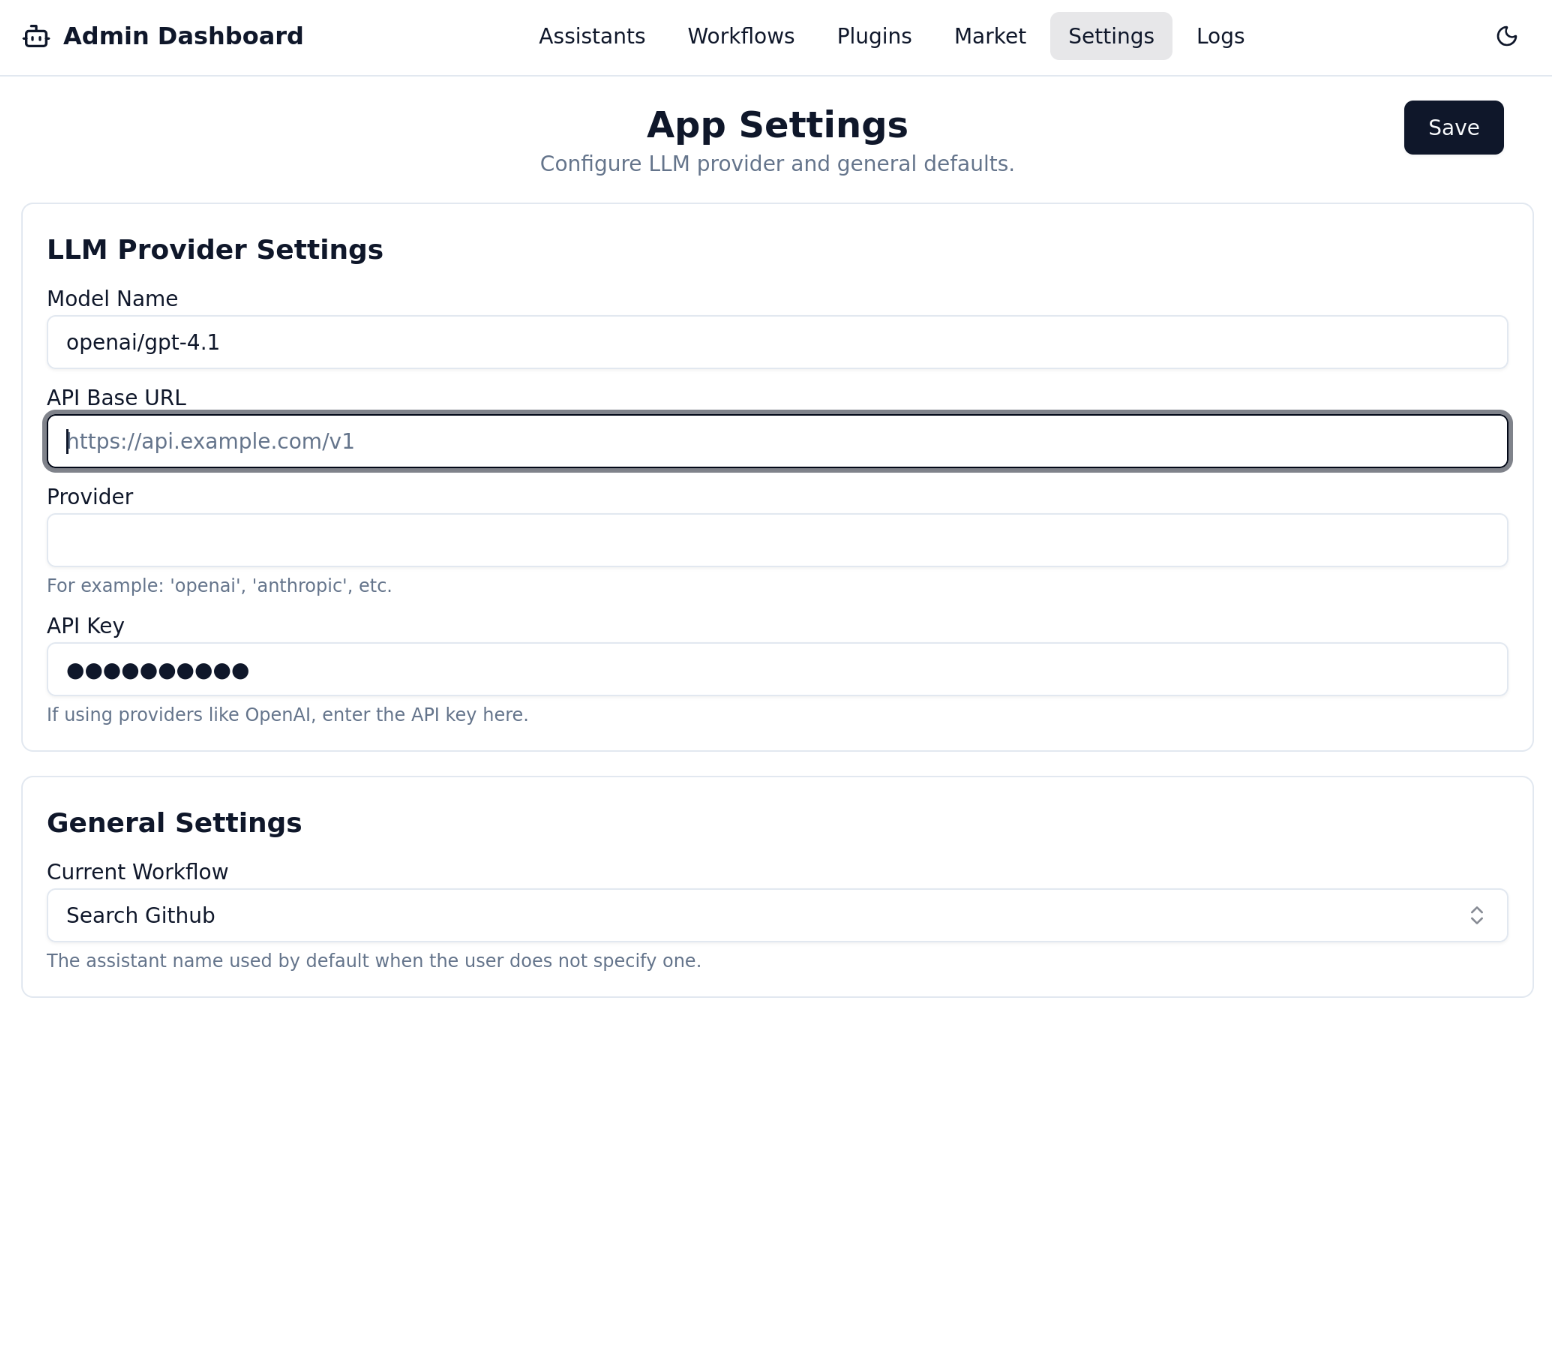
LLM Provider Configuration
This is the most critical section. Your agent cannot function without being connected to a Large Language Model (LLM). Dingent's backend uses LiteLLM, which allows you to connect to over 100 different LLM providers using a standardized format.
-
Model Name: Enter the model you want to use following the LiteLLM format, which is typically
provider/model_name. For a complete list of supported models and their corresponding names, please refer to the LiteLLM Supported Providers documentation.-
OpenAI: openai/gpt-xxx
(For compatible endpoints like Groq or local models, set the Base URL and use the openai/your-model-name format).
-
Anthropic: anthropic/claude-xxx
-
Google: gemini/gemini-xxx
-
-
API Key: Securely enter your API key for the selected provider. This key is stored safely on the backend.
-
Base URL (Optional): If you are using a proxy, a self-hosted model (like Ollama), or a custom endpoint, you can specify the API base URL here.
After filling in the details, click Save. Dingent will use this configuration for all agent interactions.
Current Workflow
This setting determines which workflow is currently active and connected to the main chat interface at http://localhost:3000.
- From the dropdown, select the workflow you want to make live.
When you start a new chat, the agent defined in this selected workflow will be the one that responds. This allows you to build and test multiple workflows and easily switch between them.
➡️ Next: Let's add some tools for our agent on The Market Page