Overview
The Dingent Admin Dashboard is the command center for your entire agent application. It provides an intuitive, web-based user interface to manage everything from your LLM configuration to the complex workflows your agent will execute.
The primary goal of the dashboard is to let you build and iterate quickly without needing to manually edit configuration files.
You can access the dashboard by running uvx dingent dev and navigating to http://localhost:8000/admin in your browser.
The Main Interface
When you first open the dashboard, you'll see a clean interface with two main components: the header navigation and the main content area.
-
Header Navigation: This is your primary way to move between the different management pages.
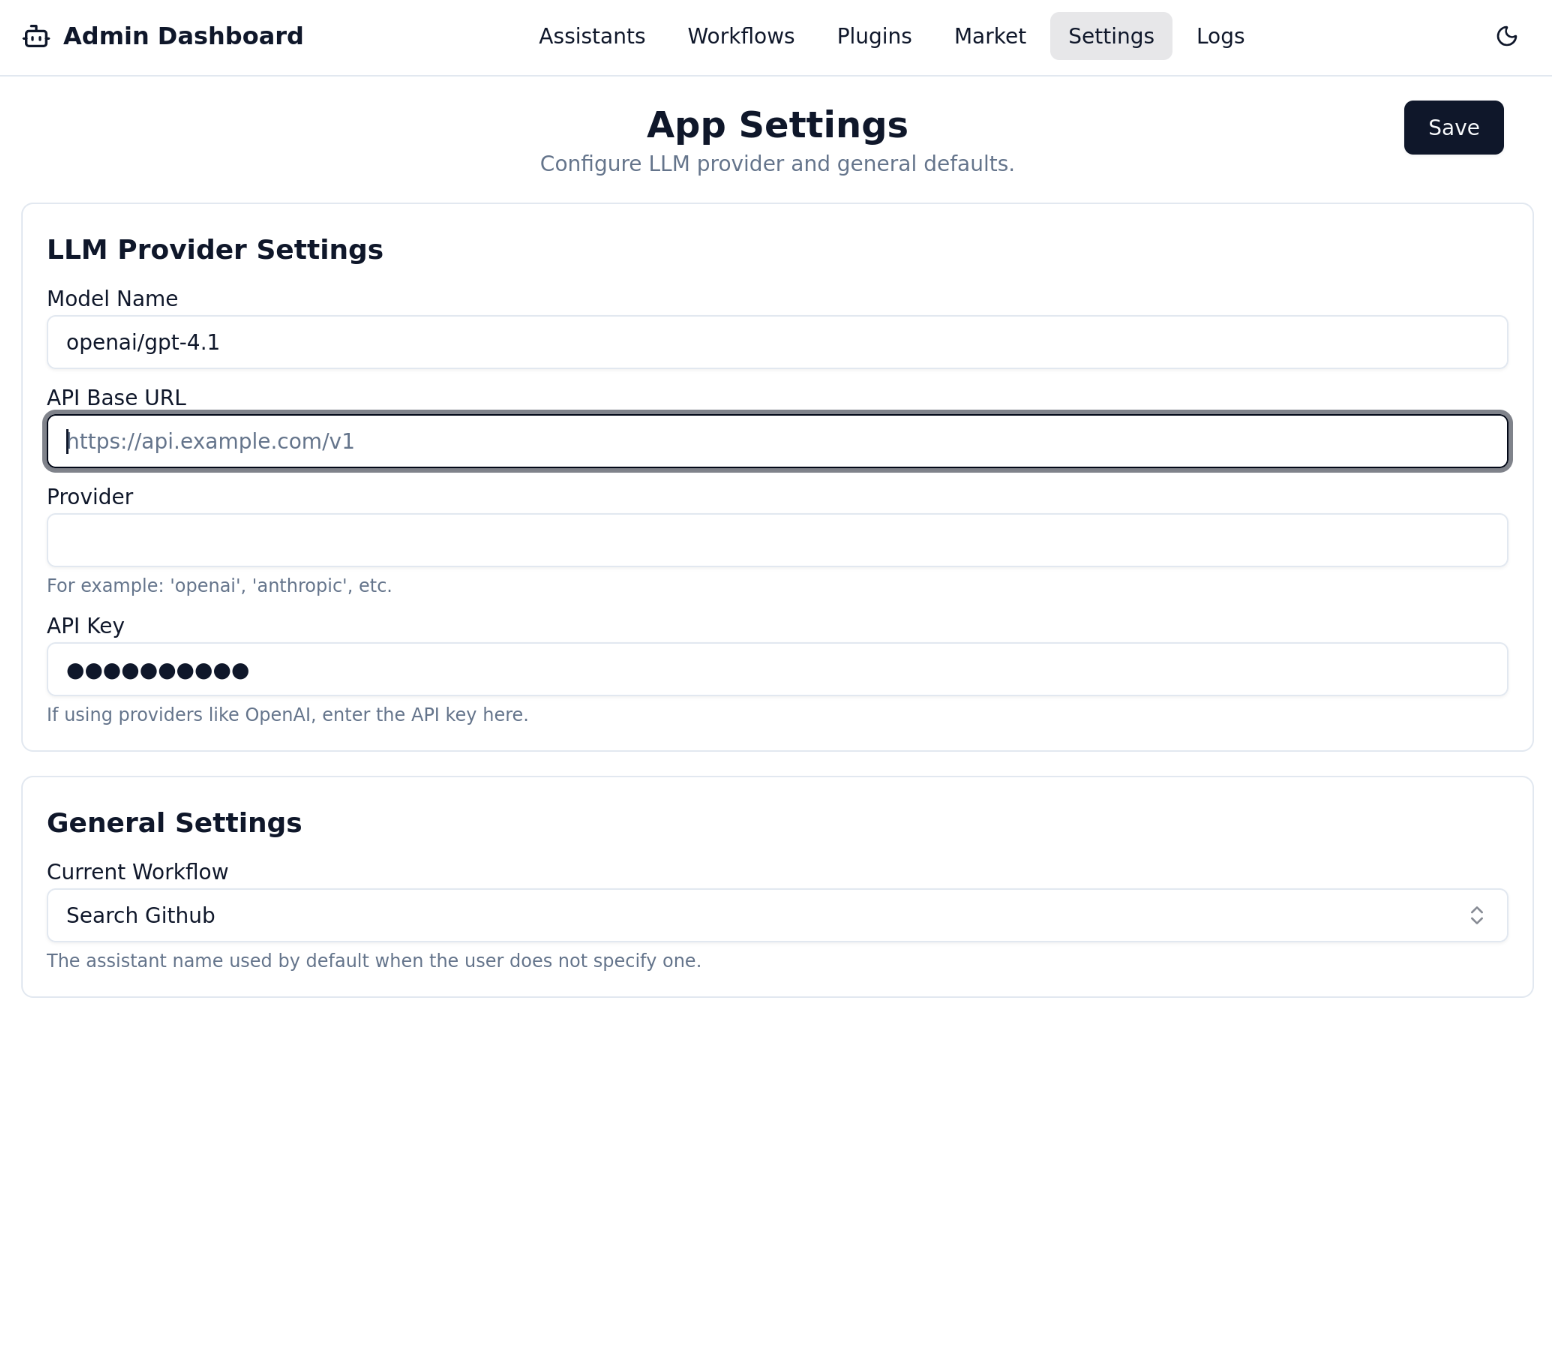
- Settings: Configure global settings for your project, most importantly your Large Language Model (LLM) provider and API keys.
- Market: Discover and download pre-built plugins to give your agents new skills and tools.
- Assistants: Create and manage your agents. Define their purpose, instructions, and assign tools (plugins) to them.
- Workflows: Define the logic for how your assistants are connected and used. This is how you activate an assistant for the chat interface.
- Logs: View real-time logs of your agent's activity for debugging and monitoring.
-
Main Content Area: This area displays the forms, tables, and editors for the page you've selected from the header.
A Typical Workflow
While you can use the pages in any order, a typical workflow for setting up a new agent looks like this:
- Settings: Start by setting up your LLM provider and API key.
- Market: Browse for plugins that fit your use case (e.g., web search, database access) and download them.
- Assistants: Create a new assistant, give it clear instructions, and assign the plugins you downloaded.
- Workflows: Create a workflow, add your new assistant to it, and activate the workflow.
With that, your agent is live and ready to be used in the chat interface!
➡️ Next: Let's begin with the first and most crucial step: The Settings Page